Windows Autopilot device registration
12 March 2025
What is a Windows Autopilot hash?
A Windows Autopilot hash is a unique identifier for each device, used during the Autopilot deployment process. This hash, also known as a hardware hash, is a combination of various hardware details of the device, such as the serial number, hardware ID, and other unique attributes. It ensures that each device is correctly identified and enrolled in the organization’s management system, allowing for a seamless and automated setup experience.
In this blog post, we will see how it is generated and how you can assign it to your environment. Whether you’re an IT professional looking to streamline your deployment workflow or simply curious about the inner workings of Windows Autopilot, this guide will provide you with the insights you need.
How to create an hash file?
Before we get into creating and uploading a devices hardware hash to the Autopilot service, I want to inform you, that you can do this on an installed Windows, right on the Desktop with PowerShell OR if you have a completely fresh device which is in OOBE, simply press the SHIFT + F10 keys (sometimes the keys have special functions, so you need to click SHIFT + FN + F10) to open an elevated prompt in OOBE. This prompt launches as a CMD but by simply typing powershell you can switch into a PowerShell session and follow the steps right there without the need of firstly configuring the Windows as Standalone - this really saves time.
To create a Windows Autopilot hardware hash, we neet the Get-WindowsAutopilotInfo script, which luckily is easyly available from PowerShell Gallery.
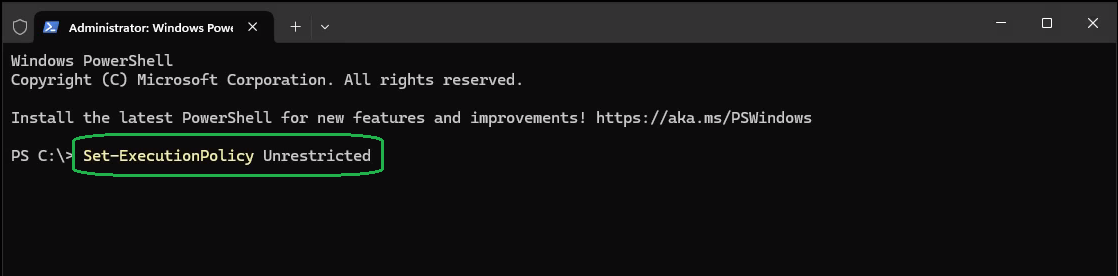
- So lets switch to a device which we need to register in Windows Autopilot to create and register its Autopilot hash to our Intune environment. Start an elevated PowerShell on this client and run the command
Set-ExecutionPolicy Unrestrictedto allow the script to run.
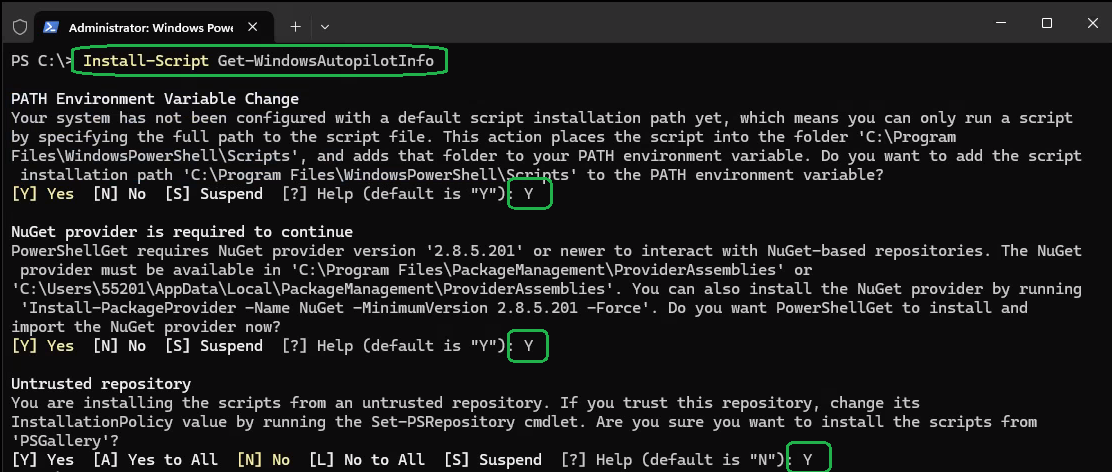
- Now lets install the script using the
Install-Script Get-WindowsAutopilotInfocommand. You need to confirm this 3 times:
- Next, we need to run the script. It has some parameters that you definitely want to know and use.
Get-WindowsAutopilotInfo
    - OutputFile #A Path where you want to store the .csv hash file locally
    - GroupTag #A GroupTag that helps you to enroll different configurations

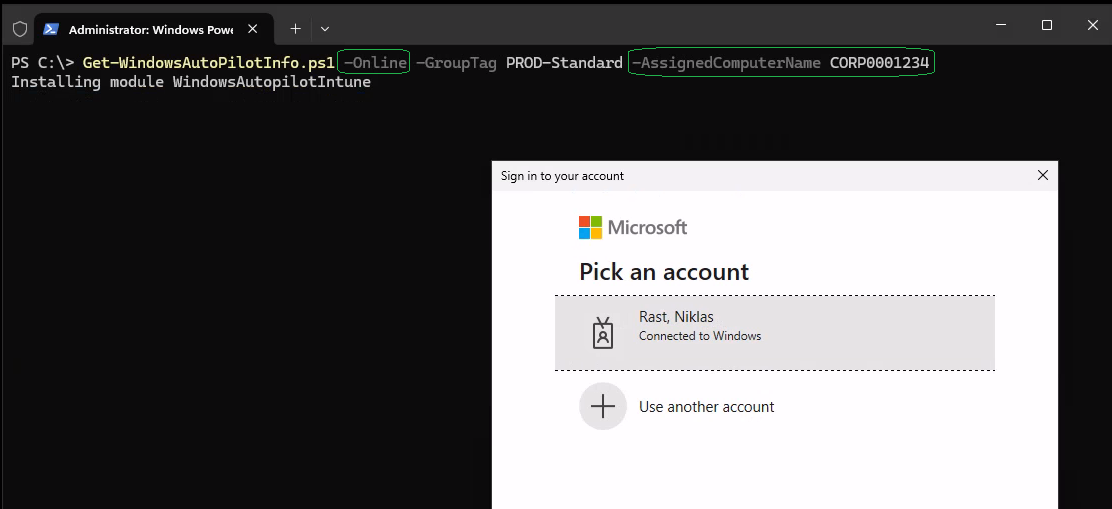
- Besides the option to create a hardware hash csv file locally and upload it manually, you also can directly upload it “online”. Simply use the
-Onlineparameter.
Get-WindowsAutopilotInfo
    - Online #Directly upload to your Intune environment, requires the WindowsAutopilotIntune module to sign-in.
    - AssignedComputerName #When directly uploading, you can add a Computer Hostname from here
If you use the -Online parameter, then you dont need the next steps as we then dont have to manually upload the hardware hash in your environment.
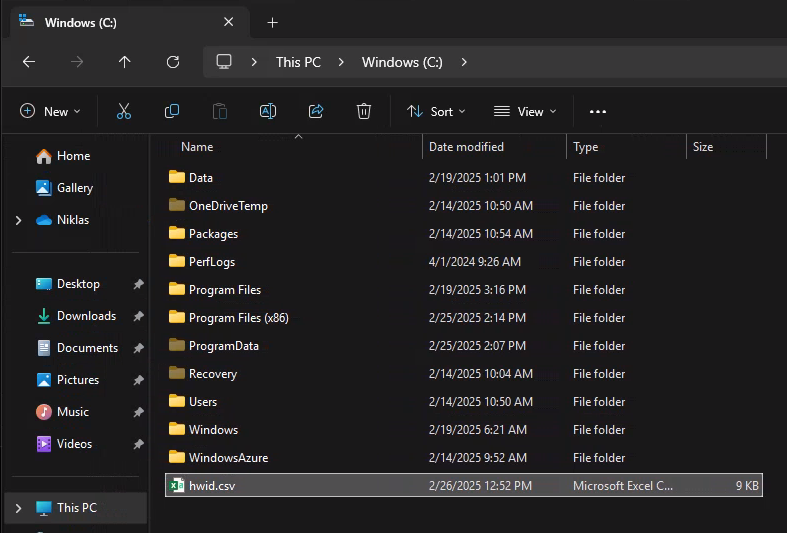
- If you choosed the “offline” option, you will find the
.csvfile in the location where you saved it from the script. In my case it was atC:\hwid.csv:
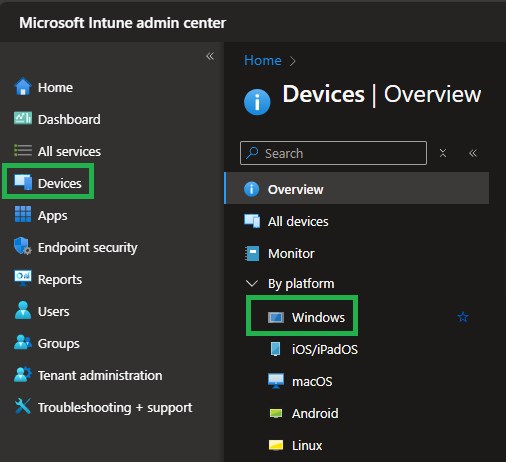
- So, to upload it manually open the Intune portal and navigate to
WindowsunderDevices:
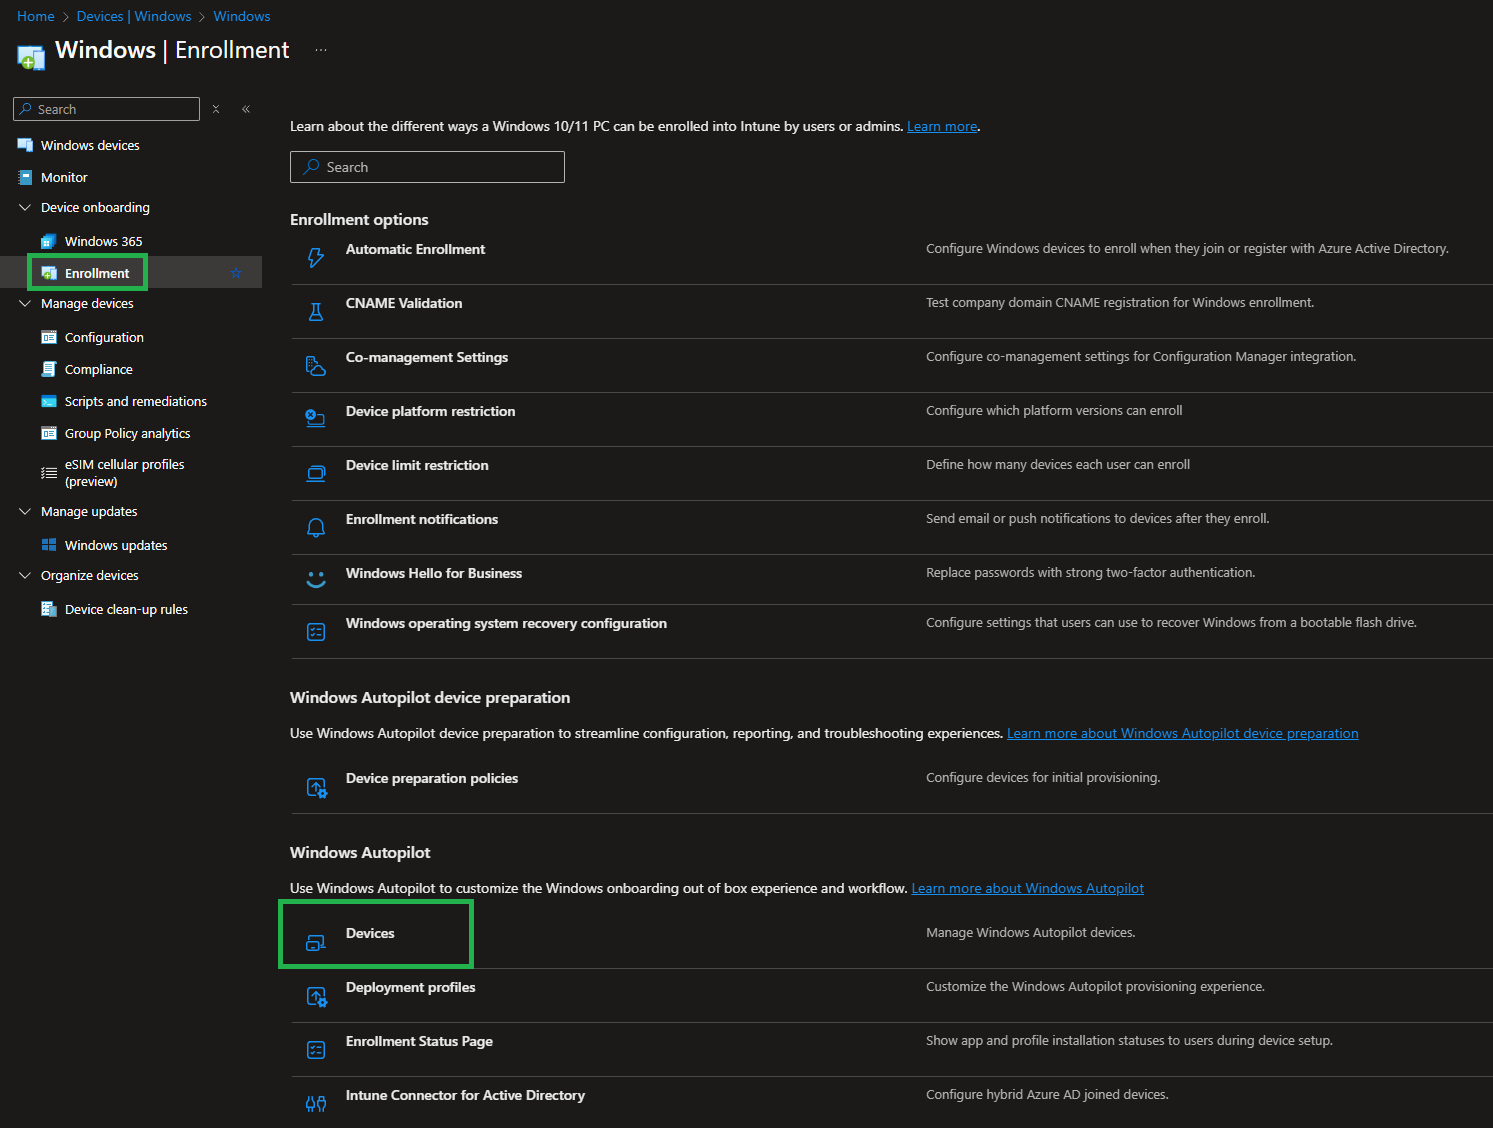
- Click on
Devicesin theEnrollmentsection:
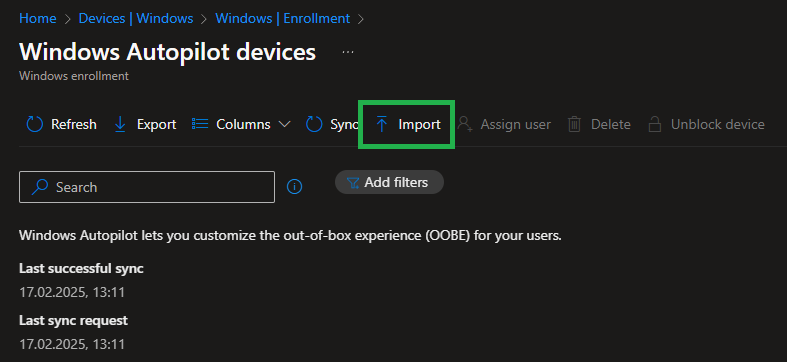
- Now, easily click on
Importin the top menu to upload the.csvfile:
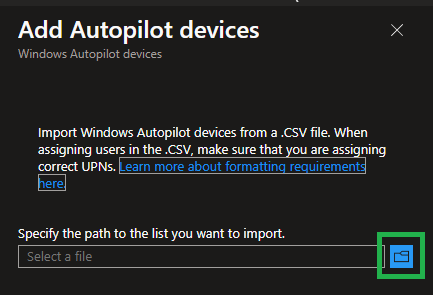
- Pick the
.csvfile
- Lastly, once the
.csvis uploaded, click on theSyncButton in the top menu to initiate an update for the Autopilot service that it registers the device with your environment. You can search for the devices serialnumber to see its grouptag, model, manufacturer and so on.
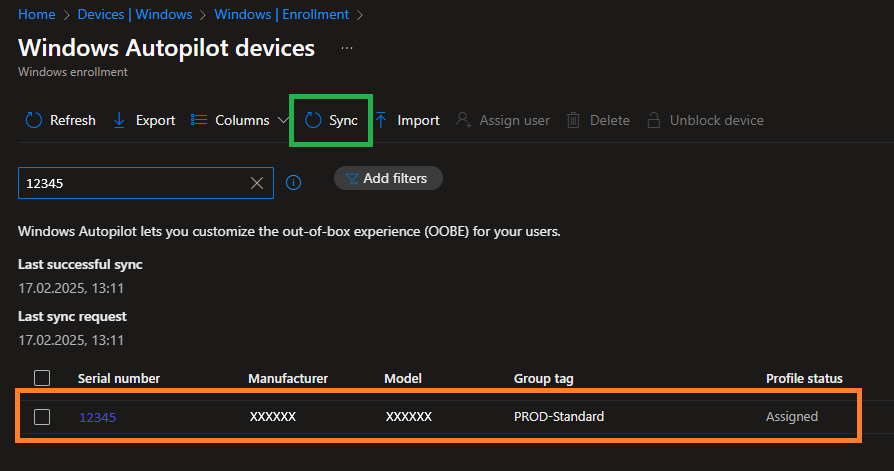
Wait for the Profile status to switch to Assigned and then the device is ready to be enrolled you your Intune environment.
Conclusion
I think it is really important for any Intune administrators to know this way, but it definitely should be your preferred option to let your hardware distributor upload devices that you order right with the delivery. The Get-WindowsAutopilotInfo script makes it super easy to create and upload new devices with an offline or online approach.