How to configure a Multi-App kiosk for Apple iOS devices?
06 December 2024
How to configure a Multi-App kiosk for Apple iOS devices?
In my last post I talked about Single-App kiosk products for iOS devices configured by Microsoft Intune. So to complete the story this post will be about creating a Multi-App kiosk configuration for iOS devices. But wait, isn’t a Multi-App kiosk not just the default iOS experience? Yes and no. When using the default iOS experience it basically is a standard device which by design offers multiple apps, but when your company for example has frontline workers that use a iPad but you granularly want or need to restrict app usage a Multi-App kiosk is a simple way to create such a experience. And this is what you will learn in this post
Requirements
As I wrote in my last post, there are the same requirements:
„Obviously you need Microsoft Intune (including licenses) and at least one iOS device. If you have those ready we firstly need to create a Entra ID group that will hold our devices and the configurations that we are going to create.“
Within the Entra ID or Intune portal create a new group and set the „Membership type“ to „Dynamic device“:
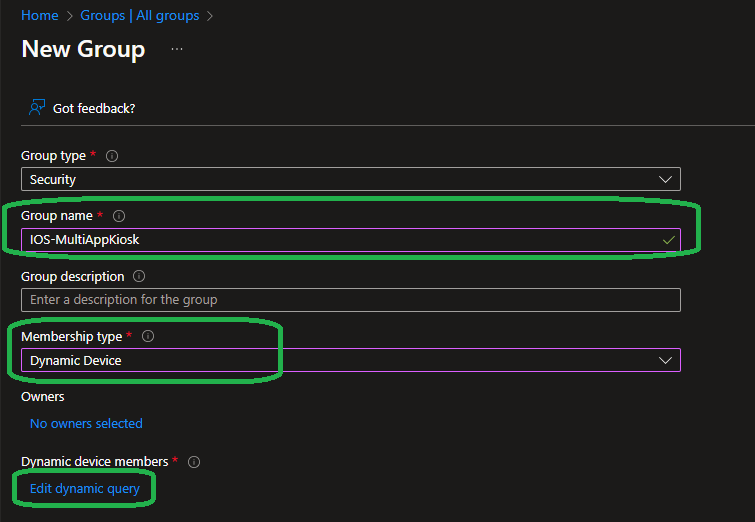
Within the group creation wizard we are going to define our dynamic query that will collect all devices. In this example I am again going to use Apple Business Manager to allocate devices to my environment so it is easy to assign a tag to the device that our group then will collect.
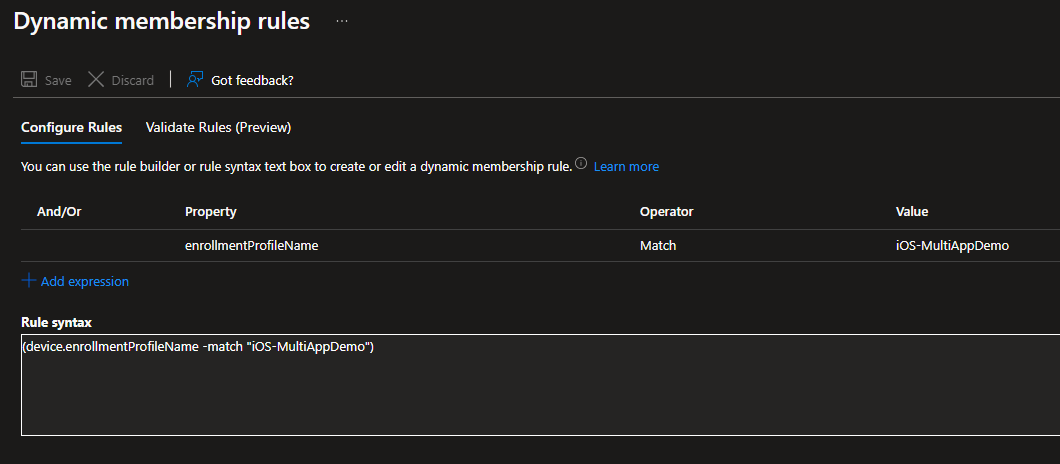
(device.enrollmentProfileName -match "iOS-MultiAppDemo")
„iOS-SingleAppDemo“ is the tag that I am going to add to my devices that should be single-app kiosk devices for this demo.
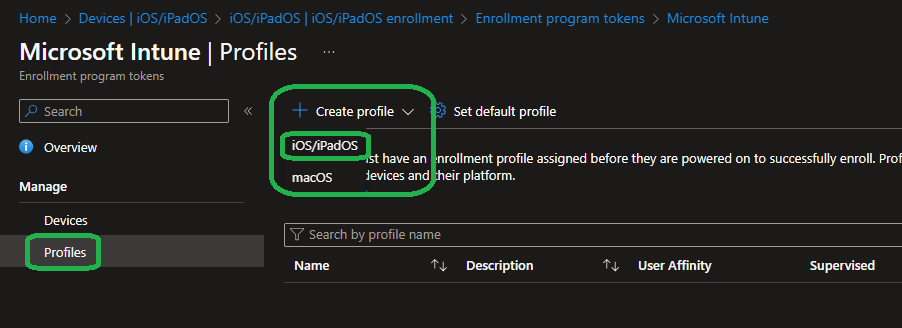
Now if you never created a profile in this way (where you of course need an Apple Business Manager account attached to your Intune) then navigate to „Devices“ -> „iOS/iPad OS enrollment“ -> „Enrollment program tokens“…
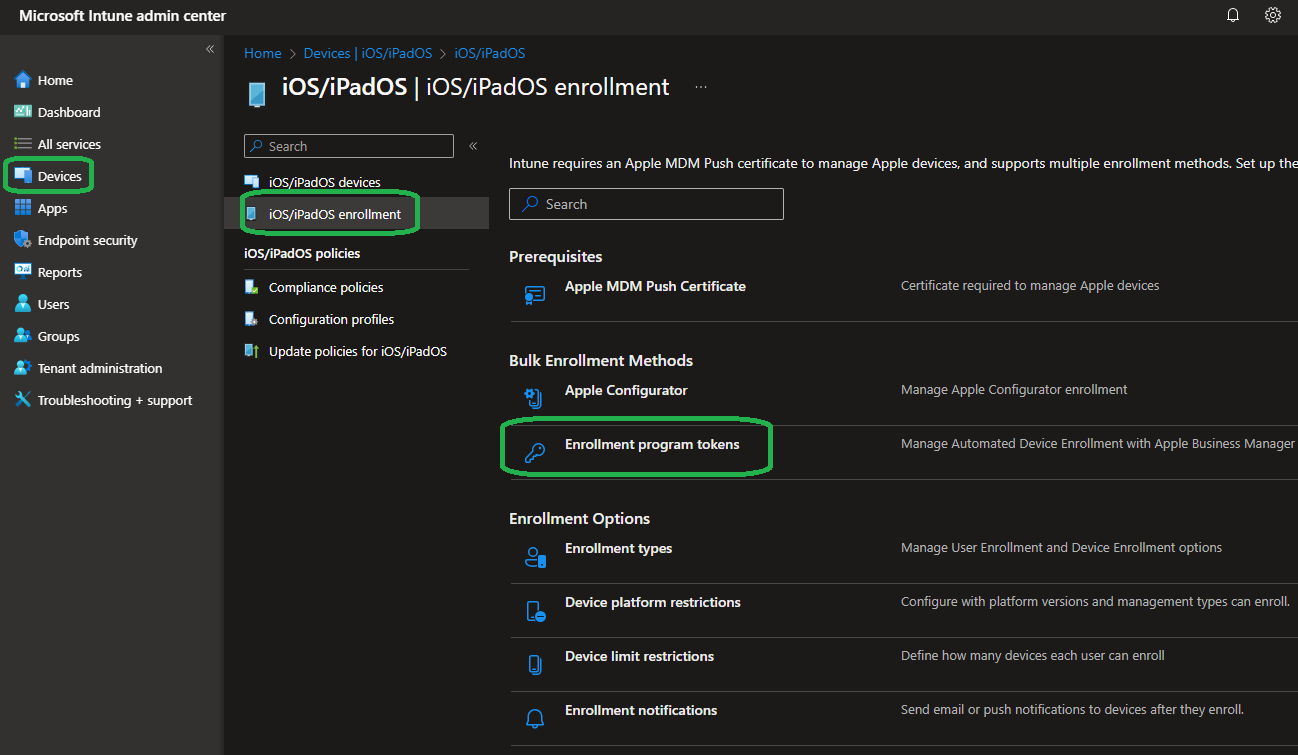
…here click on „Microsoft Intune…
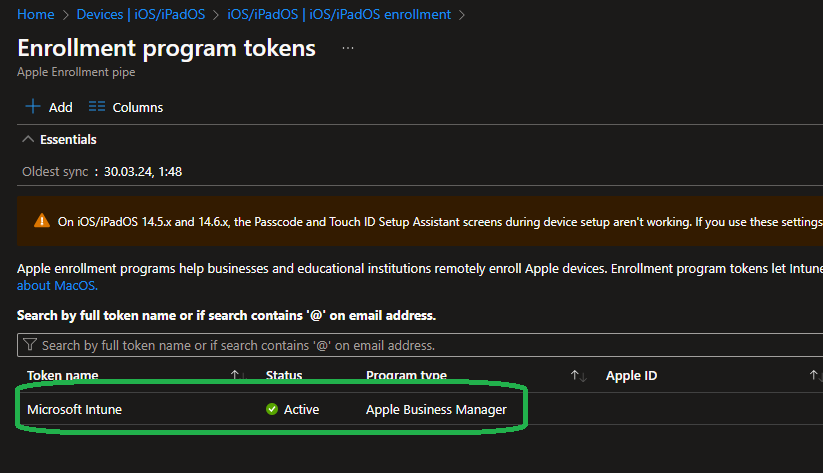
…and at „Profiles“ we want to create a new „iOS/iPadOS“ profile:
Add the name that matches your dynamic group filter:
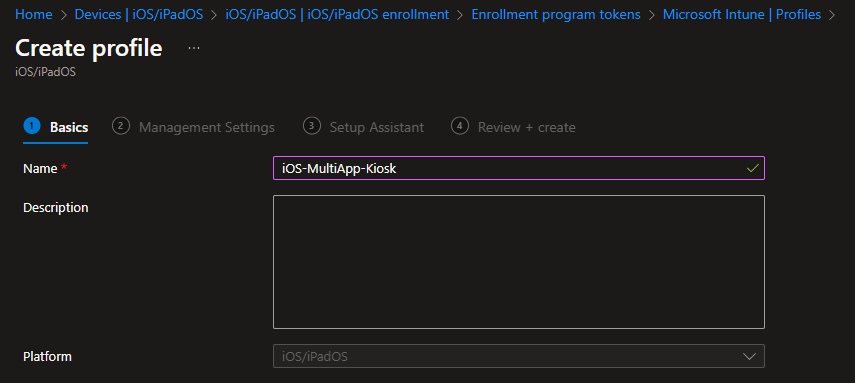
Name the profile exactly like you did in the Entra ID dynamic filter.
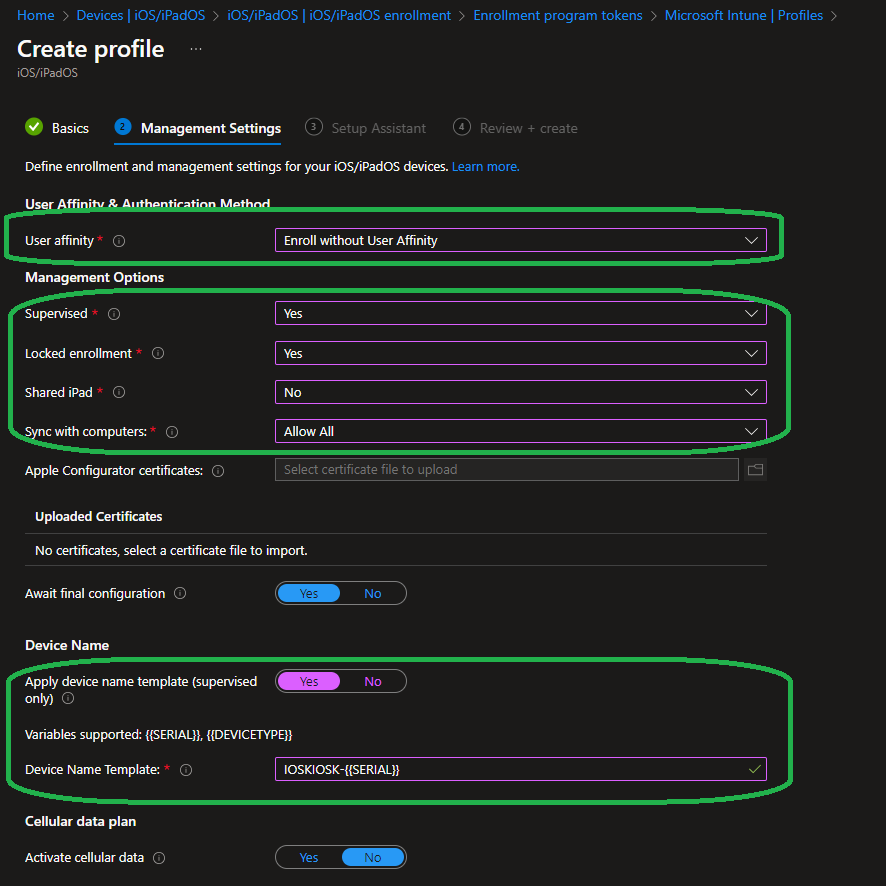
Next define those settings like I did here:
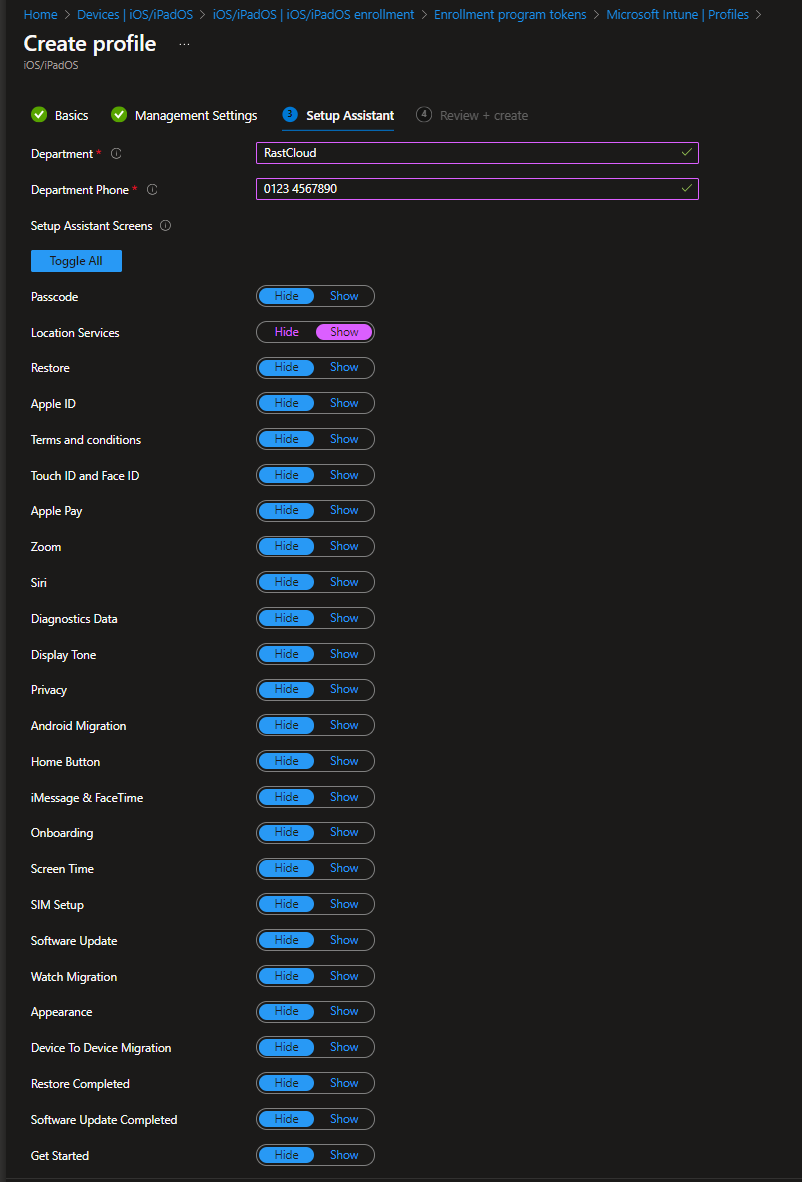
In the next step of this wizard you need to define details about the department or company that is responsible for the devices and which steps the iOS OOBE will show. For this example I disabled all except „Location services“ as we need the location for the right time on the device:
Lastly save the profile – it does not need to be assigned to our group because it matches the filter so it will be included.
Creating a kiosk profile
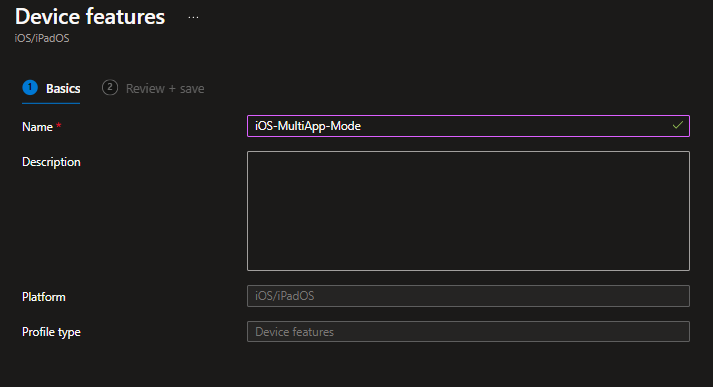
So now we have our Entra ID group and the Apple Business Manager profile ready. This time we have to create a little bit more that for the Single-App kiosk. Firstly we are going to create a „Device features“ profile in Intune at the iOS/iPad OS section.
Start by giving the profile a name:
Search for „Home Screen Layout“ and place the apps that your kiosk should offer at the Home screen location where you want them to be. Also you can design the iOS Dock if you want – otherwise it will be empty:
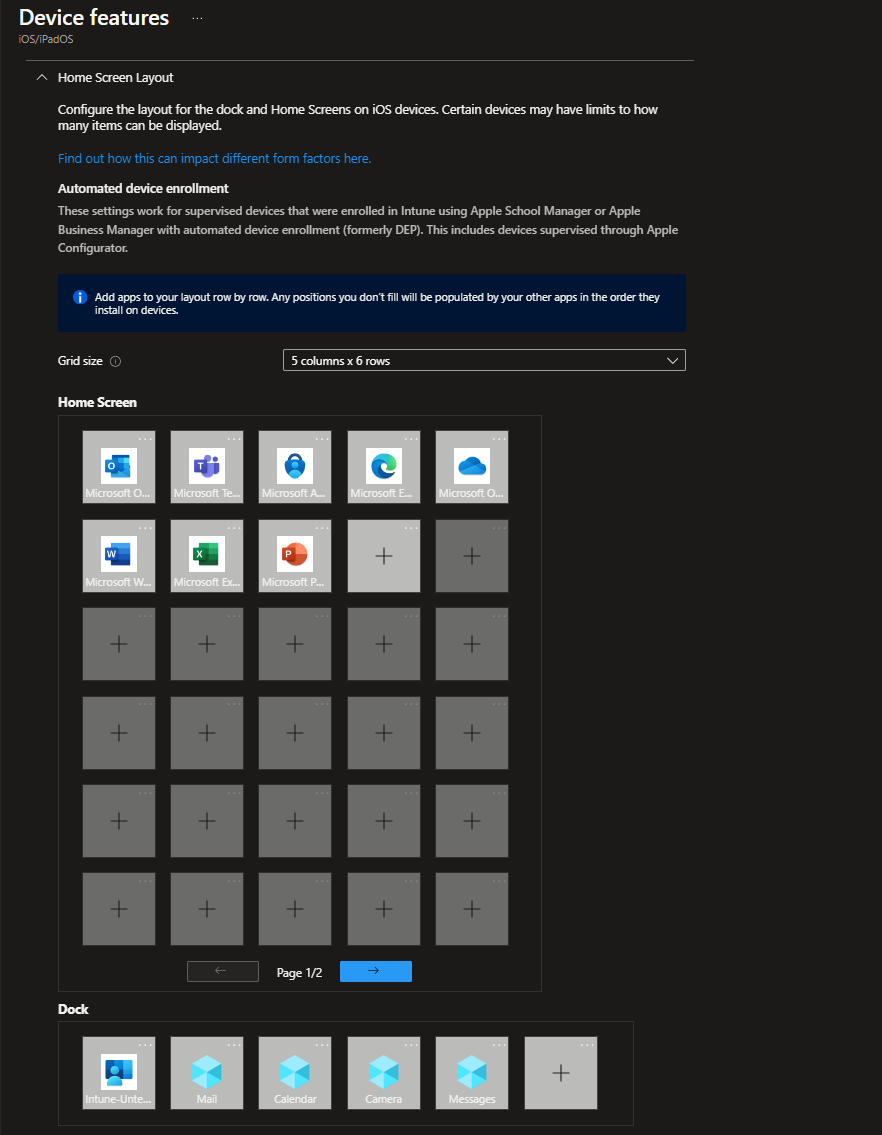
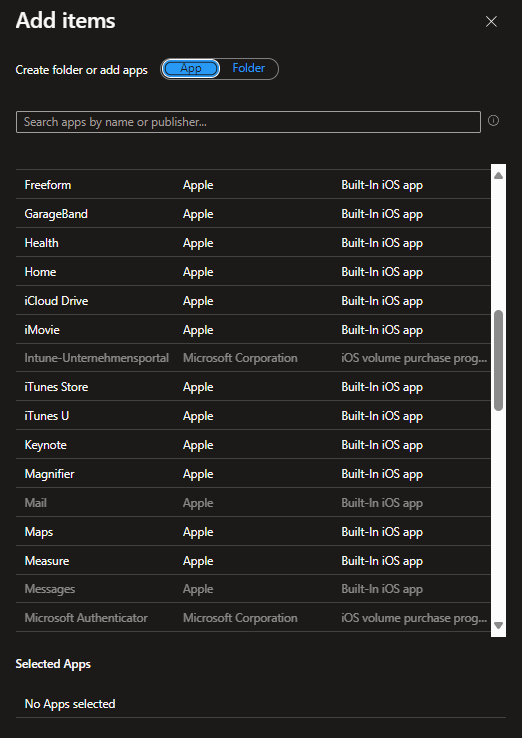
To add an app simply click on the plus icon on the position where you want it to be added and then there will popup a menu on the right side where you can pick from your apps or create a folder which stores multiple apps.
In this example i picked the Microsoft Office apps and placed the Company portal in the iOS Dock as this is an „Office kiosk“ for demo purposes. Save and assign the profile to our earlier created Entra ID group and of course do not forget to assign the defined apps to the device group as well 😉 otherwise they will not be deployed to the device.
Hiding all default iOS apps
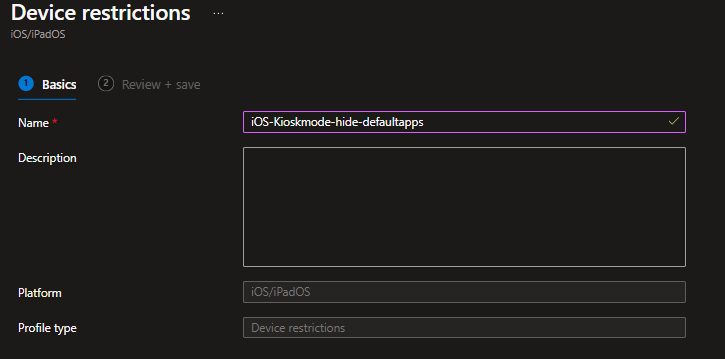
Now that we defined a layout and assigned the apps to the device group we should remove all unnecessarily default iOS apps that our kiosk should not provide. To do so we need to create a new „Device restrictions“ profile:
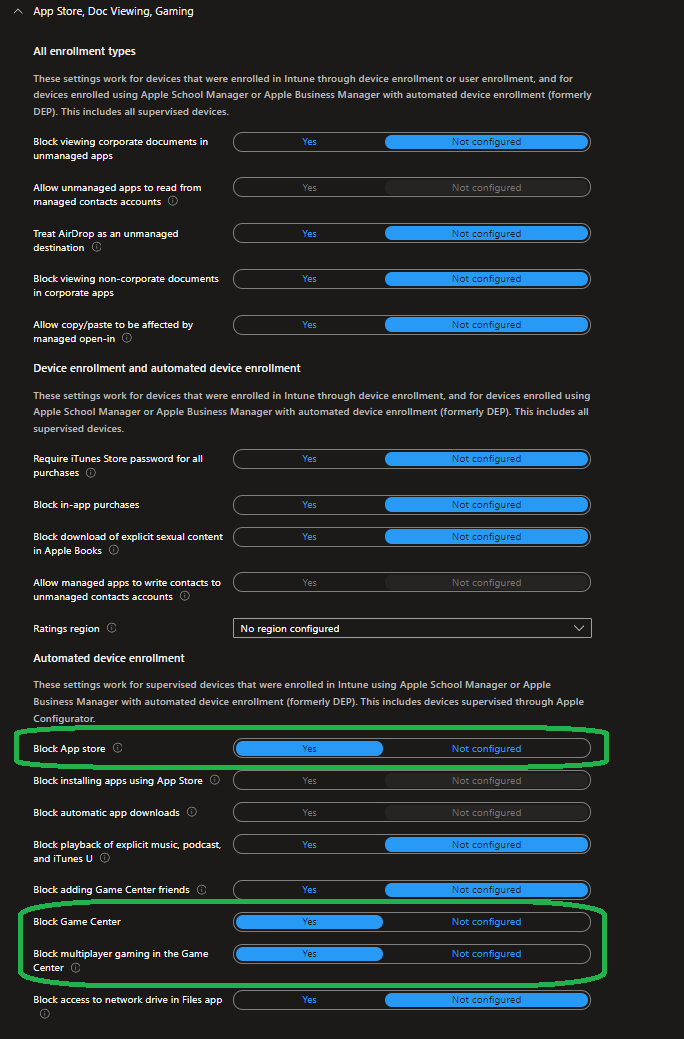
Search for the „App Store, Doc Viewing, Gaming“ section and set „Block App store“ to yes – we do not want users to be able to download and install more apps in our defined kiosk. Optionally Block Game Center:
Next search for the „Show or Hide Apps“ section. That is where we define which apps should be hidden from the home screen – so we set „Type of apps list“ to „Hidden apps“ and in this example I hide ALL iOS apps. You need to define the App bundle ID, App name and Publisher…those can be found online or from this screenshot:
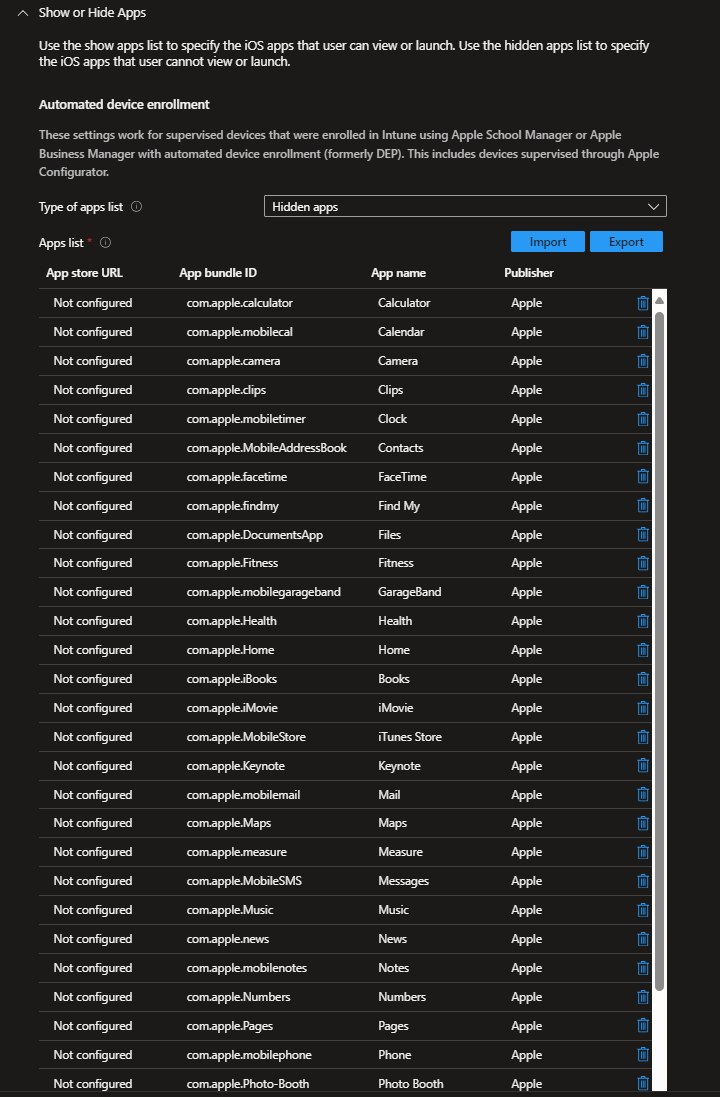
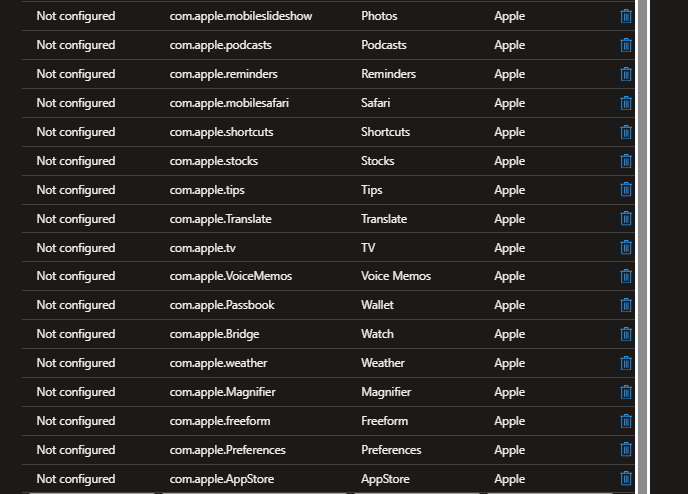
If you for example want the FaceTime app to stay available simply do not include the app in this list and you might recognized that the settings app is missing in this list? That is because Apple does not allow to hide this app. So it stays visible but you could block more settings to prevent the user from changing device settings.
Save and assign the profile to our earlier created Entra ID group.
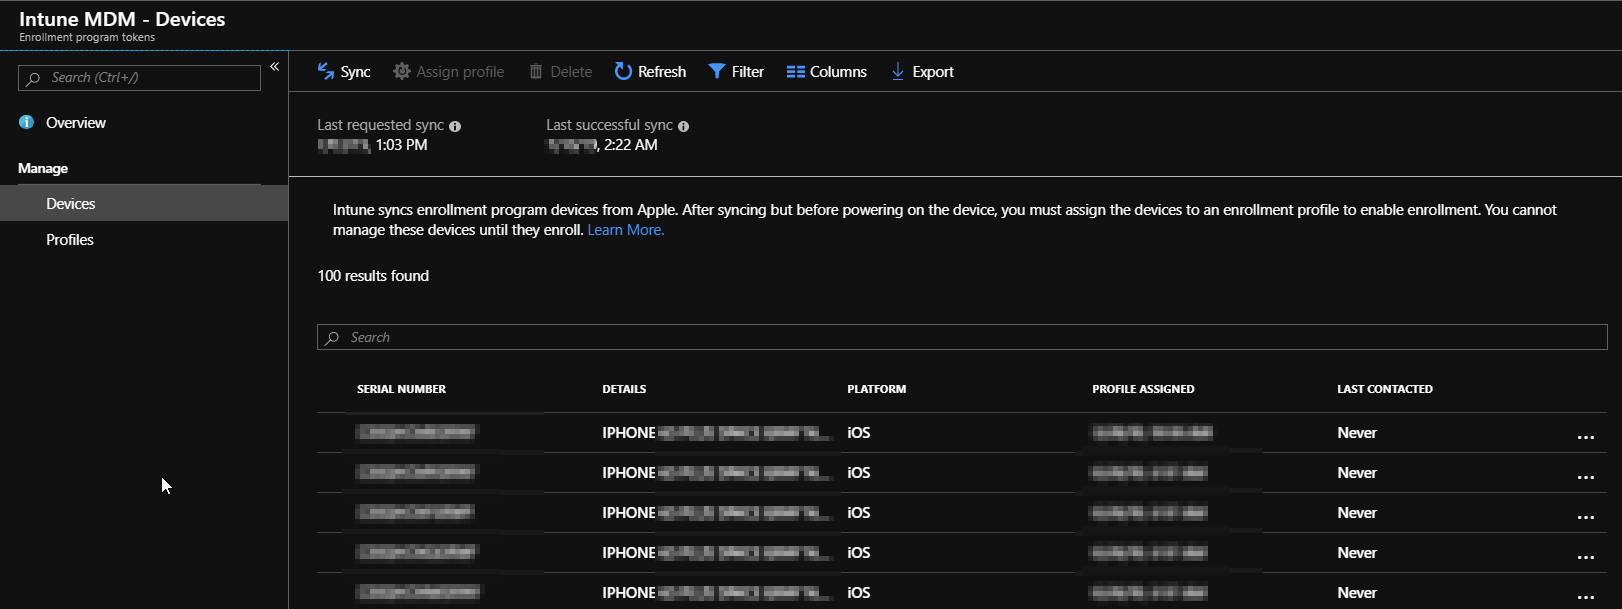
Now you should be ready. But if you’ve missed my last post you might ask „How do I now assign the tag to a device?“ => Go back to „Devices“ -> „iOS/iPad OS enrollment“ -> „Enrollment program tokens“ but now switch to „Devices“ instead of profiles from above. There you will see all iOS devices that have been added to your Apple Business Manager account and synced to Intune. Check the device by its serial number and the click on „Assign profile“ from the top menu:
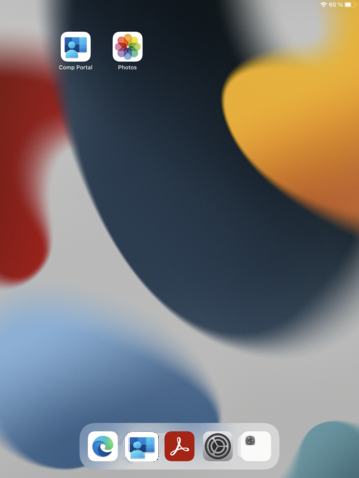
iOS Multi App Kiosk
Enroll a device with this tag and depending on your layout and app list it will look something like this:
Conclusion
In conclusion, the deployment of multi-app kiosks using Microsoft Intune for Apple iOS devices offers a simple way to create secure devices for public facing devices or frontline-workers that only should use the device for a specific tasks or apps. This can be helpfully when your frontline workers only need specific apps so that you can reduce attack surface. From enhancing interactions to improving employee productivity, these kiosks serve as powerful tools for targeted engagement and streamlined operations. Through the comprehensive management capabilities of Microsoft Intune, administrators can efficiently configure and deploy kiosks with ease, ensuring both functionality and security.